How to celebrate May Day like a Finn
It involves a picnic and fermented lemonade and really good doughnuts.

Hello friends and welcome to a special May Day (or Vappu as we call it here) edition of The Recovering Line Cook.
I had planned to share the next chapter of The Prep List today, but that was before I remembered an important detail. It is May Day next week and, since that’s a pretty big event in Finland, I didn’t want to miss the chance to tell you all about the things I’ll be cooking (and even brewing) for it.
So, with my apologies for the delay of that chapter (I’ll send it to paid subs next week), today let’s explore the flavours of Finnish May Day.
Wil
PS:
Please read to the end for a new thing I’m nervous excited to be making available to readers of my newsletter first.
Picnic season begins (*he says unconvincingly)
On the day I planned to send this newsletter out to you (Friday 25th if all goes to plan) I woke up to a world of white yet again.
Spring, by all available evidence, arrived a few weeks ago here in my corner of Finland.
And yet today, in grimly predictable style, it snowed yet again.
A winter reprise.
Whenever I am confident the snow is over for the season, the old Finnish Gods of Mischief are always there to show me how much of a stranger I am in this strange place.
I can see them now, those hairy Gods, laughing in their heavenly sauna getting drunk in their pants.
I should probably bring up these thoughts with my therapist, maybe.
Aaaaaanyway… luckily we have a full week until May Day, the day Finns traditionally head out into the great and green outdoors for picnics and gay abandon. May Day meant nothing to me growing up in England. But here, heralding summer in the not too distant future, it is up there with Christmas, Easter and Midsummer among the biggest celebrations of the year.
First on our list today and very much in anticipation of that very Finnish May Day picnic, I have a very British picnic food for you.
Without this (and obviously a good quiche) no picnic is complete for me.
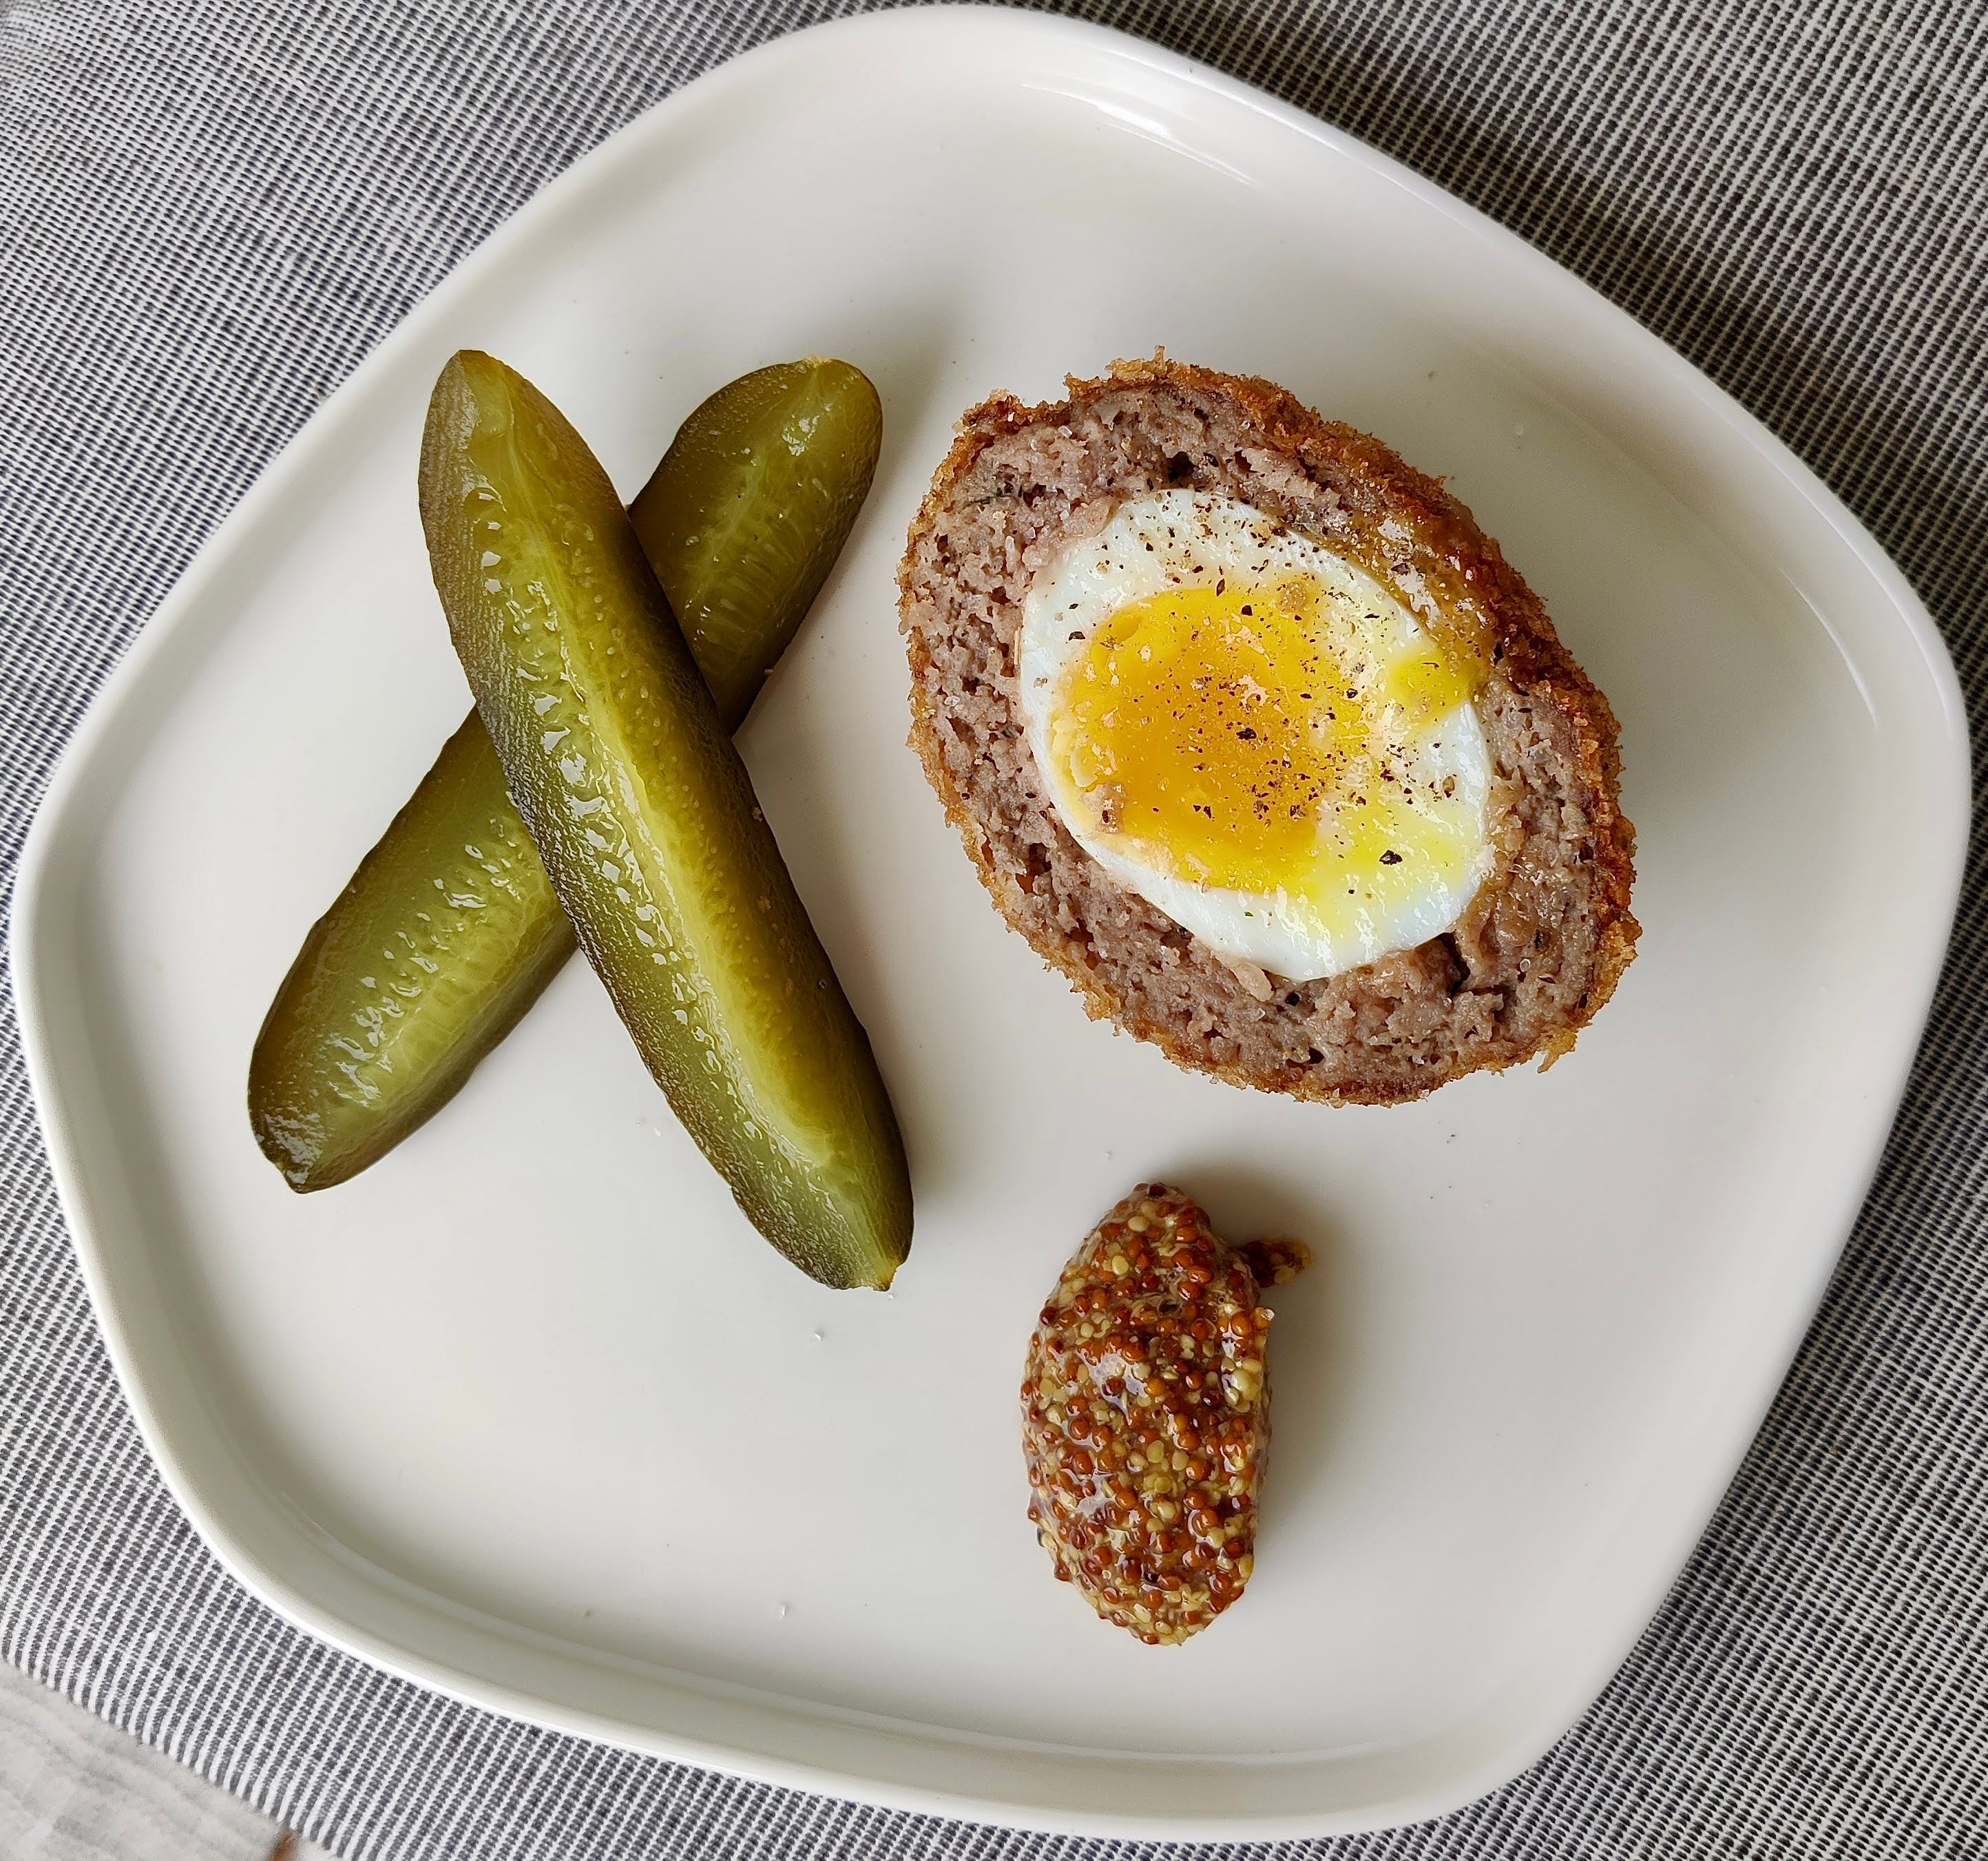
I’m talking about a humble boiled egg wrapped in a cosy blanket of sausage meat that is deep fried to golden loveliness. I am of course talking about scotch eggs.
Now, here’s a promise for you: if you Google any recipe for scotch eggs, it will, with almost 100% certainty, give you the same old potted history about where they come from and how their origins are actually not all that certain.
Some tosh about Fortnum and Mason in London often comes up.
In my ongoing attempt to be different, I’m not going blot my newsletter with this same, regurgitated history once again.
Also, I invented them with my mate Tony while we were on a Church of England ballroom dancing camp in the late nineties.
You don’t need to fact check this.
You can take my word for it.
A recipe for scotch eggs
You have various fun choices ahead when making scotch eggs but only one important choice. The fun choices are how you flavour your sausage meat. Add some nice fresh herbs, a bit of mustard, maybe some curry powder or smoked paprika if you really fancy being the life and soul.
But the important choice is about how you boil your egg before wrapping it in its sausage-y coffin. If I’m eating these fresh then I keep the yolk much the same way I was during university: loose and jammy. This takes about 4 minutes of boiling from cold water. But if you’re interested in eating this cold on a picnic, then I like to cook the yolk through. Which means about 6 minutes boiling. I don’t know about you but eating cold, molten egg yolk in a field isn’t really my idea of a good time.
But you do you as I’m led to believe people say these days.
Here’s the detail.
Ingredients
400g sausagemeat
6 eggs
Herbs and seasonings of your choice (If I’m using great sausages I don’t tend to add much other than a spoon of English mustard and a pinch of extra salt to boost the seasoning, but if the sausages/sausagemeat is lacking, I’ll add fresh sage/parsley/loads of black pepper for example)
Flour
Panko breadcrumbs
Oil for deep frying
Method
Boil 4 of your eggs (the rest are used for breadcrumbing later). I put room temp eggs in cold water and time 4 minutes from when the first bubbles start to roll into a simmer from the bottom of the pan. For soft yolks I boil for 3-4 minutes (longer for big eggs, shorter for smaller eggs). For harder boiled yolks, I’ll boil for 5-6 minutes.
Once cooked, cool them in cold water immediately (ideally with some ice).
A note here, so much will change the exactitude of what I just said. The size of your pan, temp of eggs etc etc. It can all make subtle changes to how much the eggs cook. The above is a guide. A good one, I think, that works for me. My general advice at this stage is to cook your eggs a little less than how you want them after deep frying with the sausage because it won’t cook all that much more during deep frying.
When the eggs are cold, peel them and dust them in some flour. This is really important as it helps glue the sausagemeat to the egg while they cook together.
Then divide the sausagemeat into 4 balls. Pat out each ball out into a patty larger than the egg, then mould the flattened patty around the egg so it is entirely wrapped. Be sure to gently encourage all the meat together over the egg to push out any air pockets. Take your time and do this gently, particularly if you have left your yolks a little softer.
Dust this in flour again, then beat your remaining eggs and roll the flour-dusted sausage balls in the beaten egg. Finally, roll them in the panko breadcrumbs. I then let them “set” in the fridge for a good 30 minutes before frying.
Fry these at 160°C/320°F for 5 minutes, then drain on kitchen paper. If eating cold, let them cool down uncovered so they don’t go soggy.
If eating fresh, I like to serve them cut in half (cut side up, of course), along with some wholegrain mustard and some fermented cucumbers. For a snack my Dad used to bring home from gas stations, they actually make for a very classy plated dish.
If eaten cold on a picnic, however, I want nothing more than cheap ketchup with them because picnic Wil is a trashy bastard.
Note:
Finland has its own particular sausage style and that means finding sausagemeat/British-style raw sausages is basically impossible here. I made my own “sausagemeat” for this recipe using 400g ground pork to which I added loads of dry sage, pepper, about 3/4 teaspoon salt and, importantly, 2 tablespoons of regular dry breadcrumbs.
Seasonal pastries
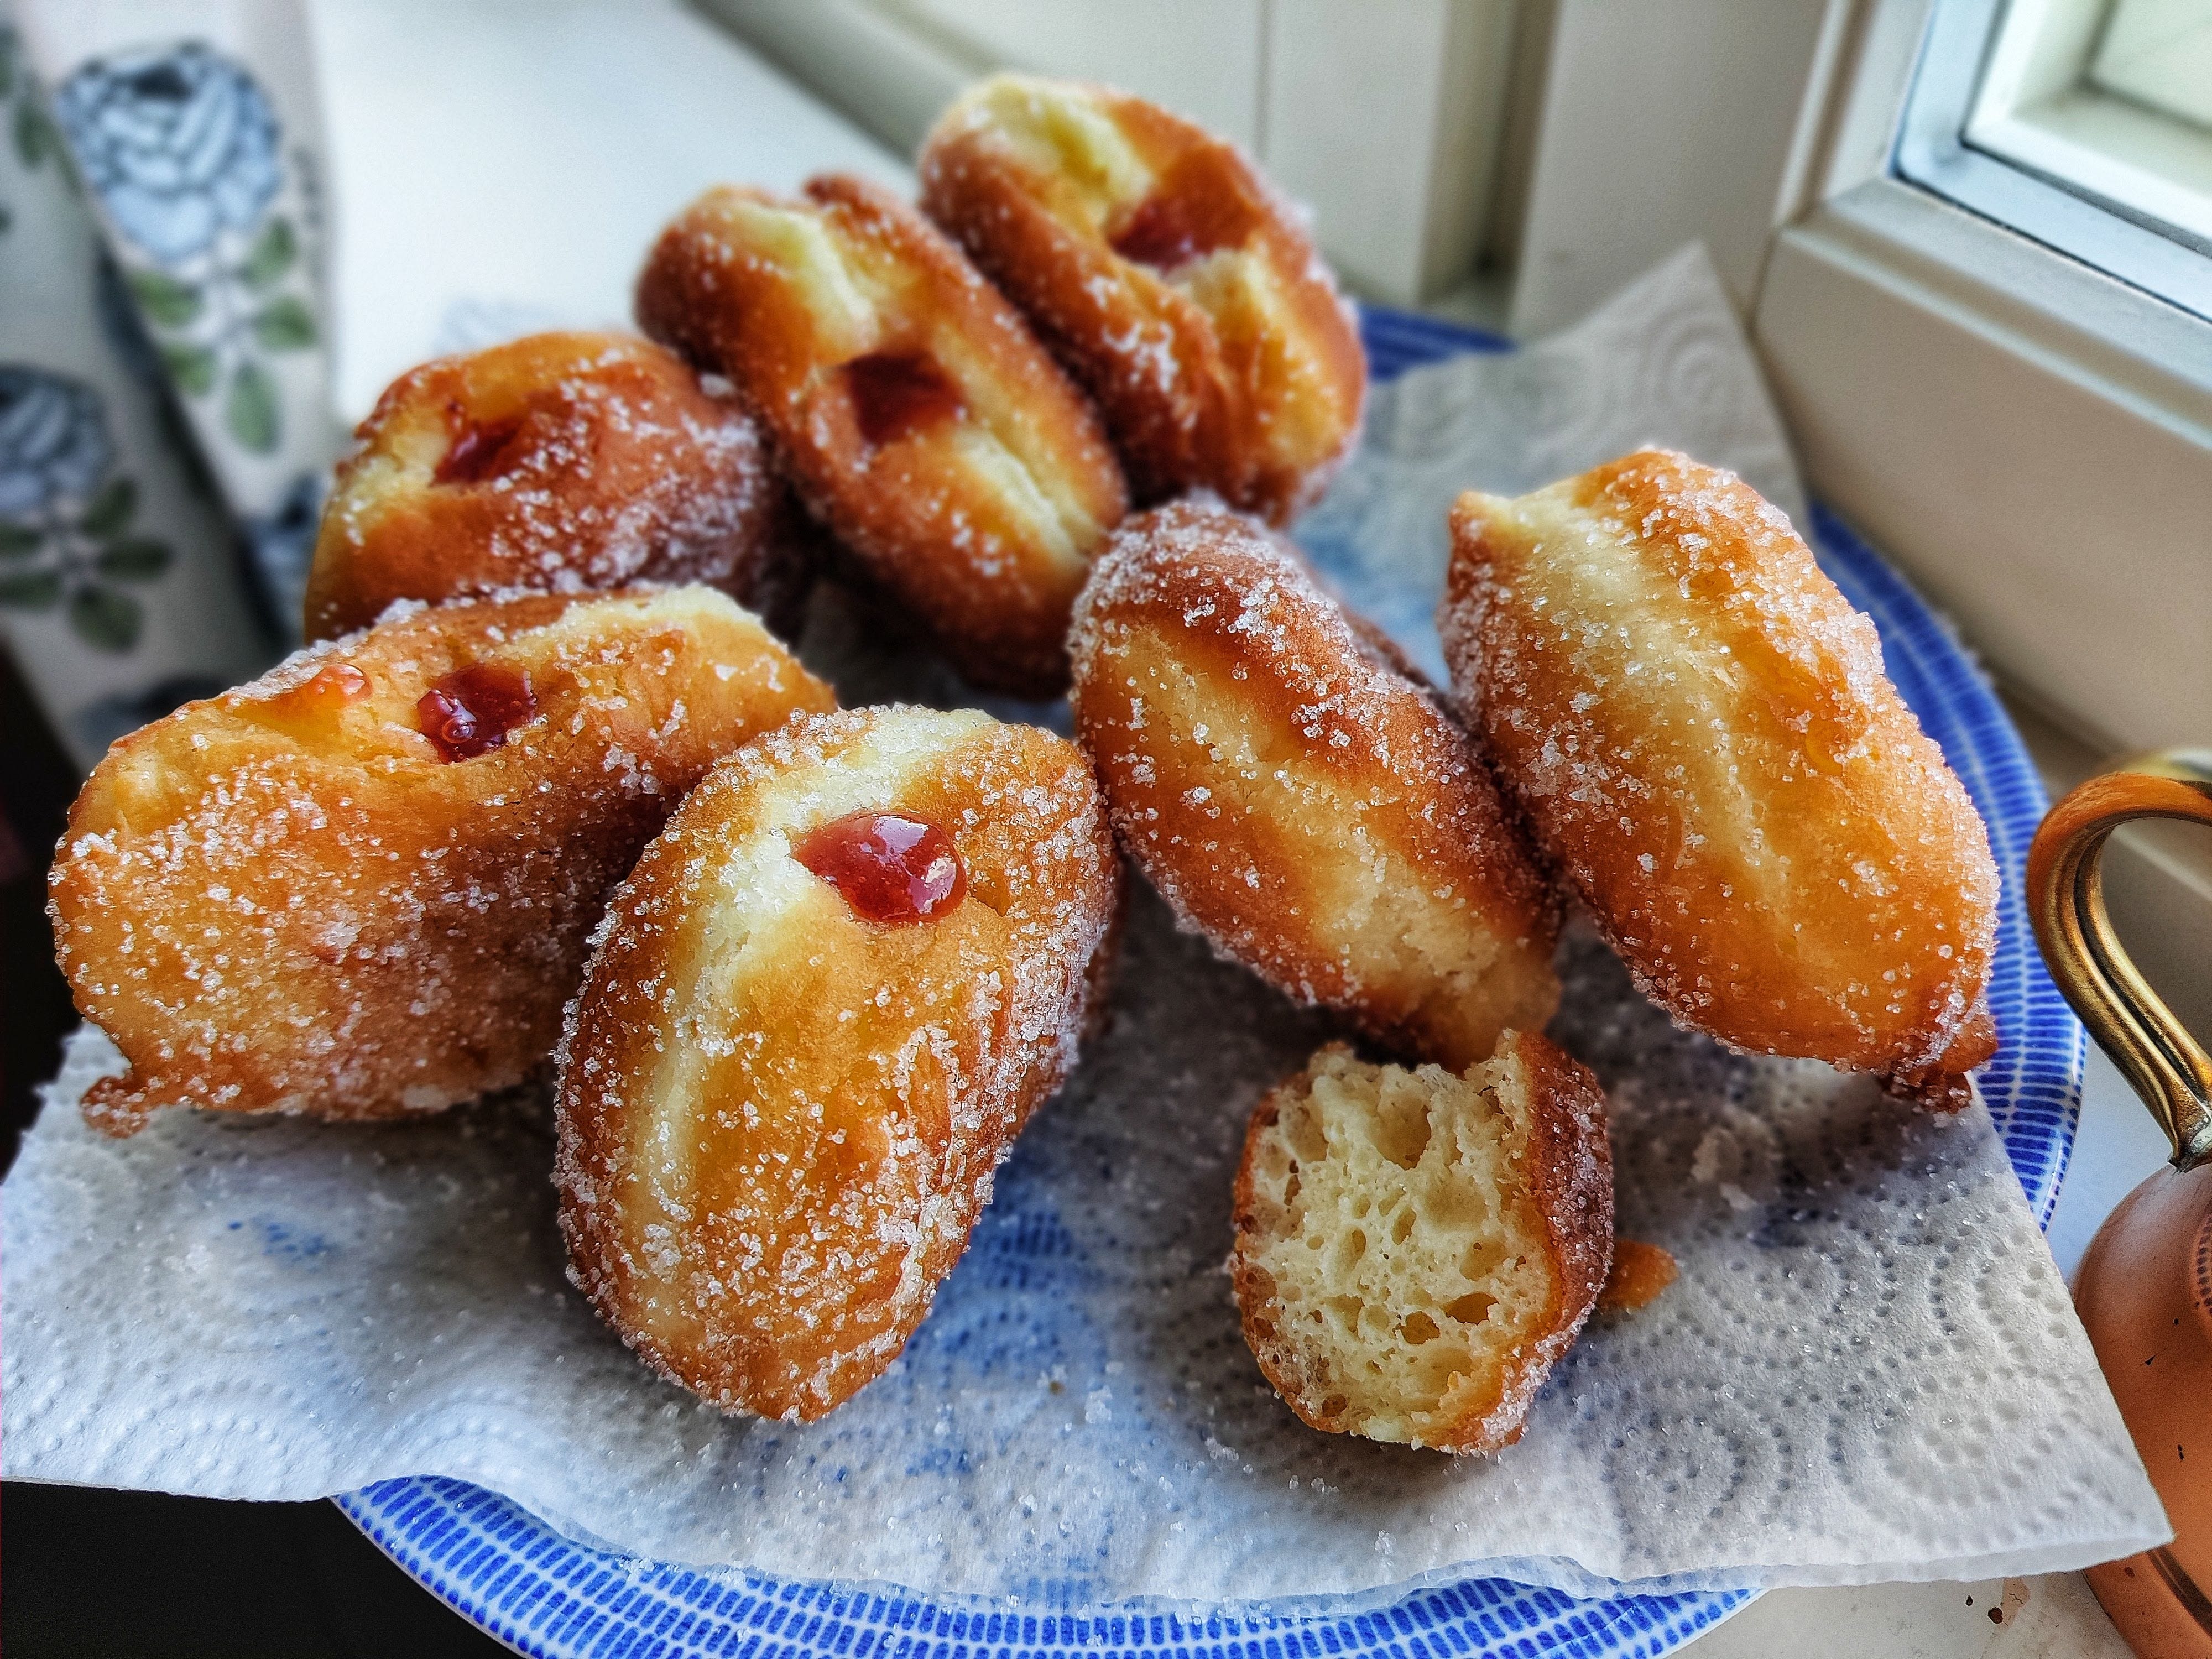
From the British savoury to the Traditional Finnish “sweet”, there’s only one pastry associated with May Day ‘round these parts: a good, old fashioned doughnut.
(Well, thats a lie. A funnel cake called Tippaleipä is also eaten on May Day, but my wife hates the things so I don’t have much cause to make them).
I shared this recipe the first time last year, but I’m very happy to be doing so again on this traditional Finnish doughnut-eating occasion.
A recipe for light-as-a-cloud doughnuts