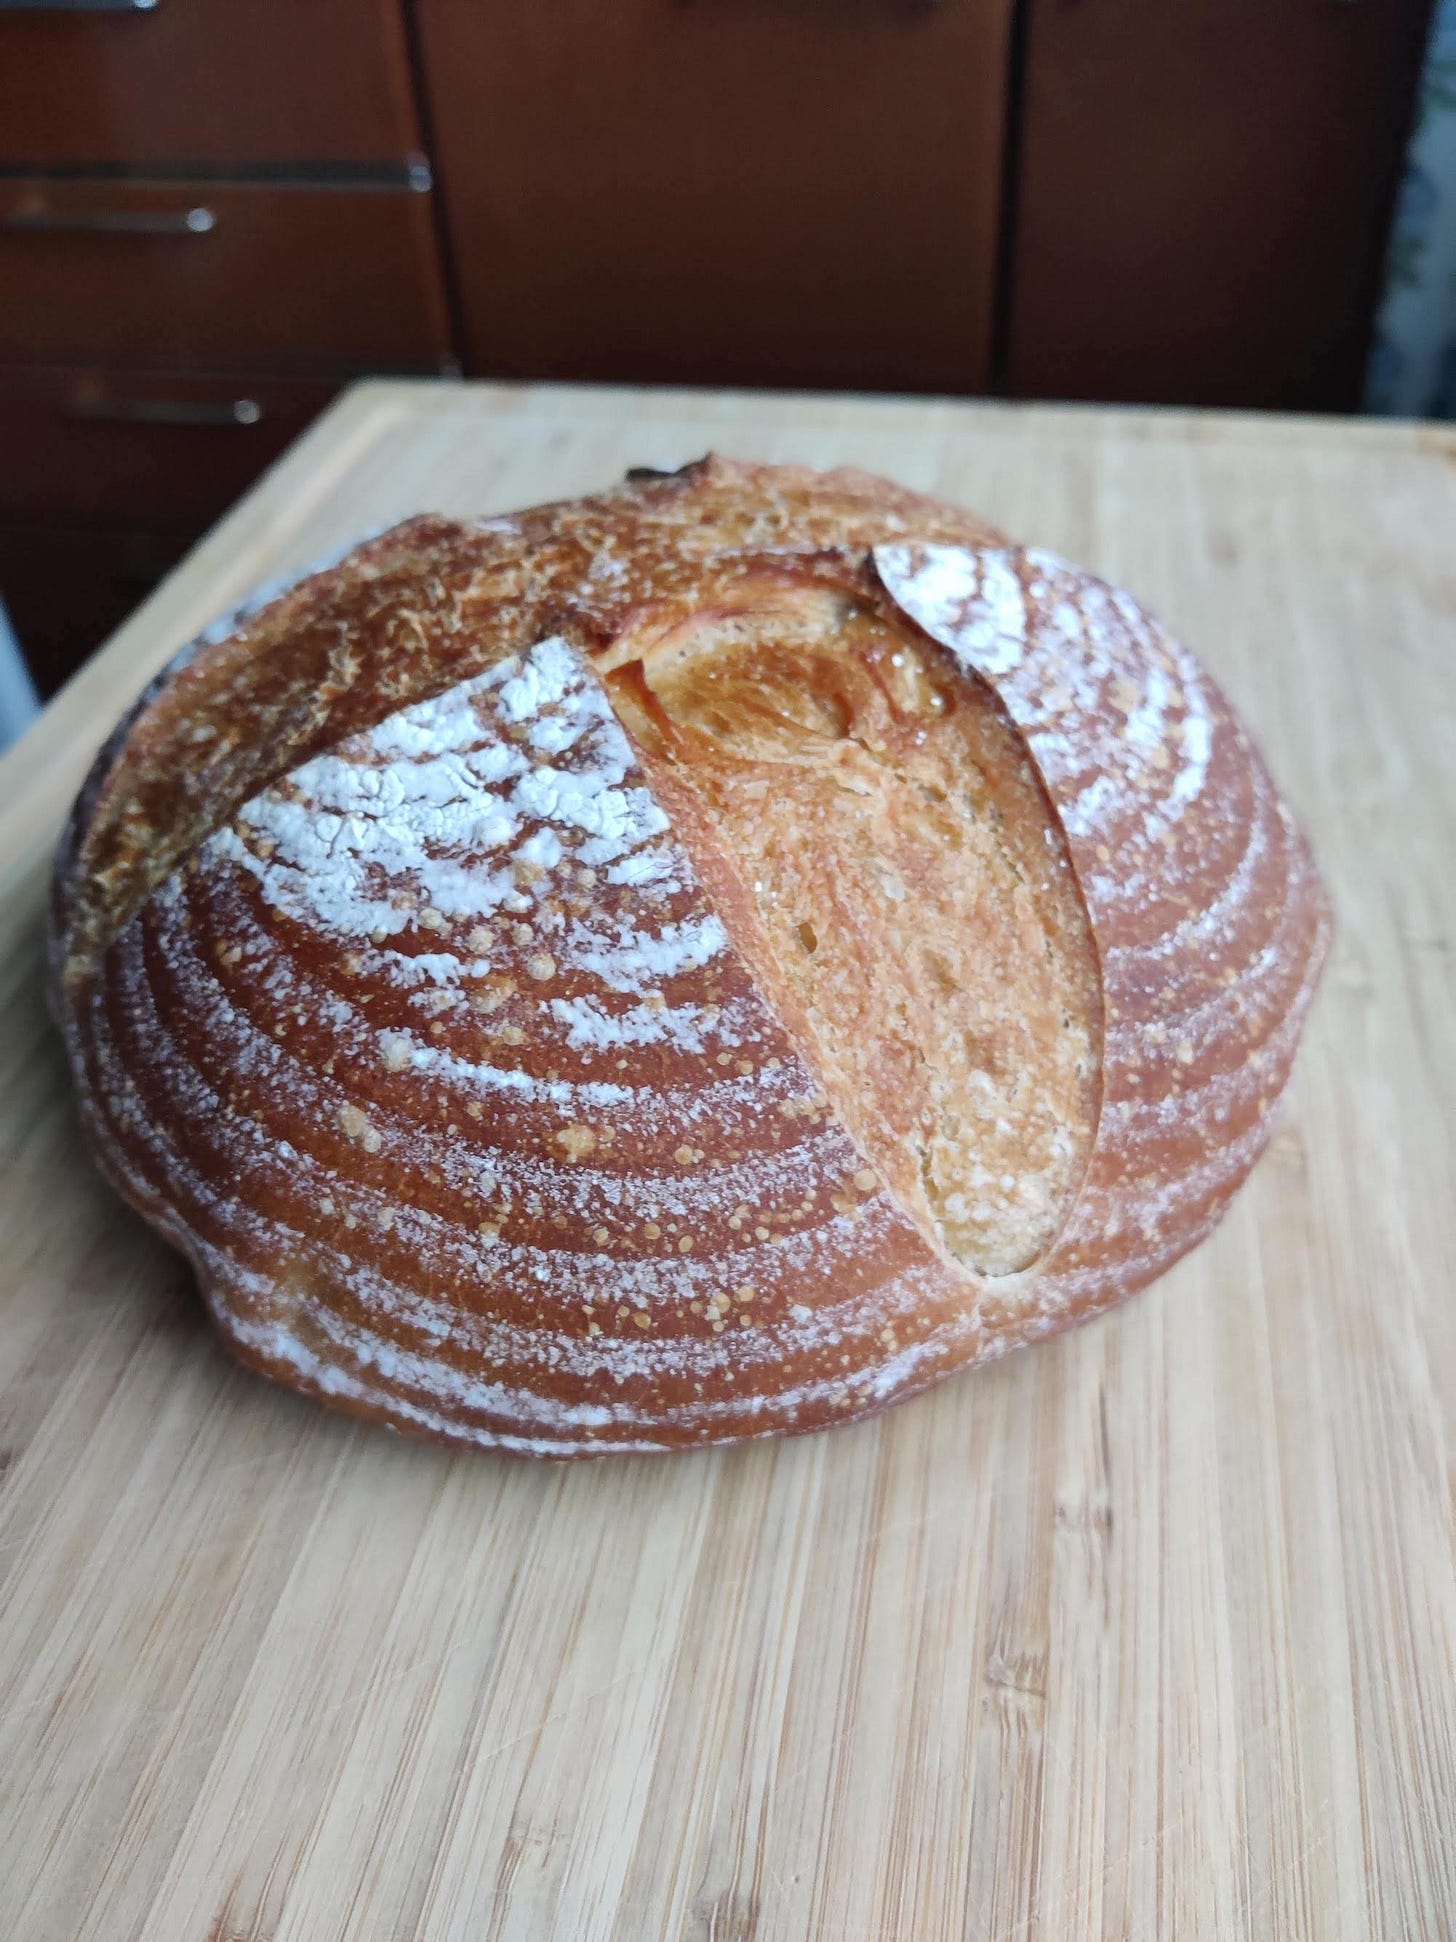
Hello, dear friends. Thank you once again for letting me grace your inboxes. This is a post for all subscribers, free and paid alike. Please consider upgrading to receive everything from The Recovering Line Cook, including bonus video content at the bottom of this post.
It is exceptionally snowy here in Finland this week.
Pushing the pram outside has become a full-body workout, and, since the snow fallen is taller than our tiny dog Otto, I’m increasingly concerned I’m going to lose him in the snowy depths every time we’re out for a walk.
On the plus side, we’ve finished moving into our new place in the Finnish city of Turku, and I can finally say I have a kitchen big enough to swing a ferret in.
It might not look much but it really feels like someone who cooks designed this one. Lots of work surface, great lighting, and loads of cupboard space. This feels like home already.
Look closely and in that kitchen picture you might make out a loaf of bread.
Today, I’d like to talk about that…
A French baker in Sweden
When I cooked at a restaurant called Oaxen Slip in Stockholm, I found something particularly beautiful in the walk-in fridge one day.
It was a loaf of bread unlike any I’d seen before.
It was dark in colour, and oval in shape. The top dusted heavily with flour that had caramelised to creamy beige during its baking. The colour of light butterscotch. Most distinctive of all, it had been scored with such fine and delicate strokes that an intricate pattern of wheat and leaves and tiny flowers had emerged on the top crust.
If there was someone on our team capable of doing that, they’d been keeping it a very good secret.
A few days later I heard that a French baker called Sébastian Boudet was visiting us for a breadmaking workshop.
That beautiful loaf was a taster of his work, and an example of what he wanted to teach us about.
During that really wonderful workshop, two key lessons emerged: the equal importance of ingredient and technique. Sébastian’s passion was sourdough bread, as you’d expect from a great baker. But this was only as important as using the best, organic, heritage flours that had no additives. It was an inspiring way of spending a few hours, even if it was on one of my precious days off.
I also liked hearing about his likes and dislikes. In particular, I appreciated his aversion to bread that had enormous holes in it. The type you see on Instagram getting the oohs and aahs and thousands of likes.
He said something along the lines of “when I eat bread, I want bread, not air.” As someone who had started to get fed up of the sourdough bread we bought for the restaurant that had air pockets the size of my fist, I shared his aversion.
My secret shame? Much as I love sourdough bread, I’ve never kept a sourdough starter alive for more than a month or two and a couple handful of loaves. This is why I appreciated learning from Séb about the poolish pre-ferment method. This being a way of getting great, almost sourdough-y, results from standard baker’s yeast.
What is the poolish method?
Much like a sourdough starter, a poolish is a pre-ferment. Unlike sourdough starter, a poolish uses a very, very small amount of baker’s yeast. This yeast is added to a 50/50 mix of flour and water to slowly develop (about 12-16 hours) to a point that it is active enough to leaven a full loaf of bread.
Even though we are using (often maligned) baker’s yeast, the effect is a pre-ferment that has better, more complex flavour than a normal loaf of bread. In Sebastian’s words himself, the poolish method helps you get a “simple, sourdough flavour”, without the time and effort of actually maintaining a sourdough starter.
I recommend this method to anyone who wants to up their bread game.
A recipe for French-style bread made with poolish pre-ferment
The recipe I’m sharing is perfect for French breads like baguettes, batards and boules. It’s the kind of bread I enjoy everyday for things like sandwiches, toast, and with soup.
The dough has a pretty modest hydration percentage at 62%, which makes the bread easy to handle and shape. So technically this is a very easy bread to make. But more specifically, this level of hydration percentage doesn’t leave you with huge holes in it. Instead, the loaf is characterised by a fine crumb of evenly dispersed air pockets. It is very light, but the long ferment develops the gluten so each bite has a lovely chew.
I really recommend investing in a banneton if you don’t already have one. It took me too long to actually get one but since I did my bread shaping and baking has got much better.
Ingredients
For the poolish on day 1
250g white bread flour
Scant 1/4 teaspoon dry yeast (by this I mean don’t fill the 1/4 teaspoon to the top. The weight of this is well under a gram)
250g water
For the bread dough on day 2
150g white bread flour
11g sea salt
Method
For the poolish: In a large bowl, mix the flour with the yeast and then add the water. Mix it together until it looks like a very thick pancake batter. Cover with a tea towel or plastic wrap overnight or for 12 to 16 hours.
For the final dough: After 12 to 16 hours your poolish will be full of bubbles, very loose and easily doubled in size. It should also smell really very lovely, which is great news because that aroma will be adding to the quality of your bread soon!
Now, tip your 150g of flour onto your work surface and work it into a crater-like shape so there’s a space in the centre. Place in this centre space your poolish, add your salt on top, and start working the flour from the outside into and over your poolish. Keep working this together and, once it has formed a cohesive dough, knead it briefly until it comes away clean from the table. You shouldn’t need extra flour for this.
Cover with a piece of cling film or, as I do, the upturned bowl you’d been proving the poolish in. Leave for 30 minutes.
After 30 minutes, give it another knead for 5 minutes or so until it becomes smooth and firm. Leave another ten minutes, covered. At this point you can prep your banneton. I do this by spraying the banneton with water (I use a water spray, which is a really handy piece of kitchen equipment, btw) and then dusting it with corn flour. Rice flour is an alternative I’ve often heard suggested. I’ve learnt through lots of disasters that non-gluten flours are much better at not sticking than regular wheat flour.
With your banneton prepped and dough rested, it’s time to shape the dough into a round boule. This is all about creating a nice smooth surface to the bread with lots of surface tension that will help promote oven spring when it’s cooking. (This is the only remotely technical part of the recipe so I have a quick video below as an extra to see how I do it)
When you’ve shaped the dough, pop it gently into your banneton, cover with plastic wrap/shower cap/put in plastic bag, and wait for 3 to 4 hours until doubled in size.
Once you’re getting there, preheat your oven to 250°C/480°F.
Remove the risen dough onto some baking paper, and score your bread to your liking (a simple X does the job for me). I cook my bread in a preheated a Le Creuset/dutch oven style thing. This helps trap steam and promote good “oven spring”. Once I’ve scored it, I place it gently into the pan while holding the baking paper. I then spritz the top with water from my spray, place the lid on, and into the oven.
After 20 minutes of baking I remove the lid and let it cook another 10 minutes uncovered until beautifully coloured.
It’s a delicious loaf and a lovely, slow process. It’s light but chewy and structured really well for an everyday bread. Importantly, the long poolish ferment really does improve the flavour, giving you a gesture of the sourdough world, while being really rather more convenient if you don’t have a starter on hand. It’s also a great base recipe to use to experiment with other flours. I often use wholemeal to make the poolish, then white bread flour for the subsequent 150g.
I hope you enjoy it.
See you next week!
Wil
Now, a few video extras… Please consider upgrading to a paid subscription to access all my writing here on The Recovering Line Cook, and to support me as an independent writer who may very likely need to employ a private search team to find his dog in deep snow one day soon...
A small dog in big snow
A quick look at the shaping and scoring
I love a poolish! My household is small and we never ever consume enough bread or anything else to keep a sourdough starter alive without just tossing out the overage each time the starter is fed. Poolish was the way forward.
My dogs would like to inform Otto that if one has sufficiently attentive human staff, they will shovel you a path when the snow gets too deep.
(Confession: I used to dig them a racetrack.)
Very interesting! Looking forward to trying it!